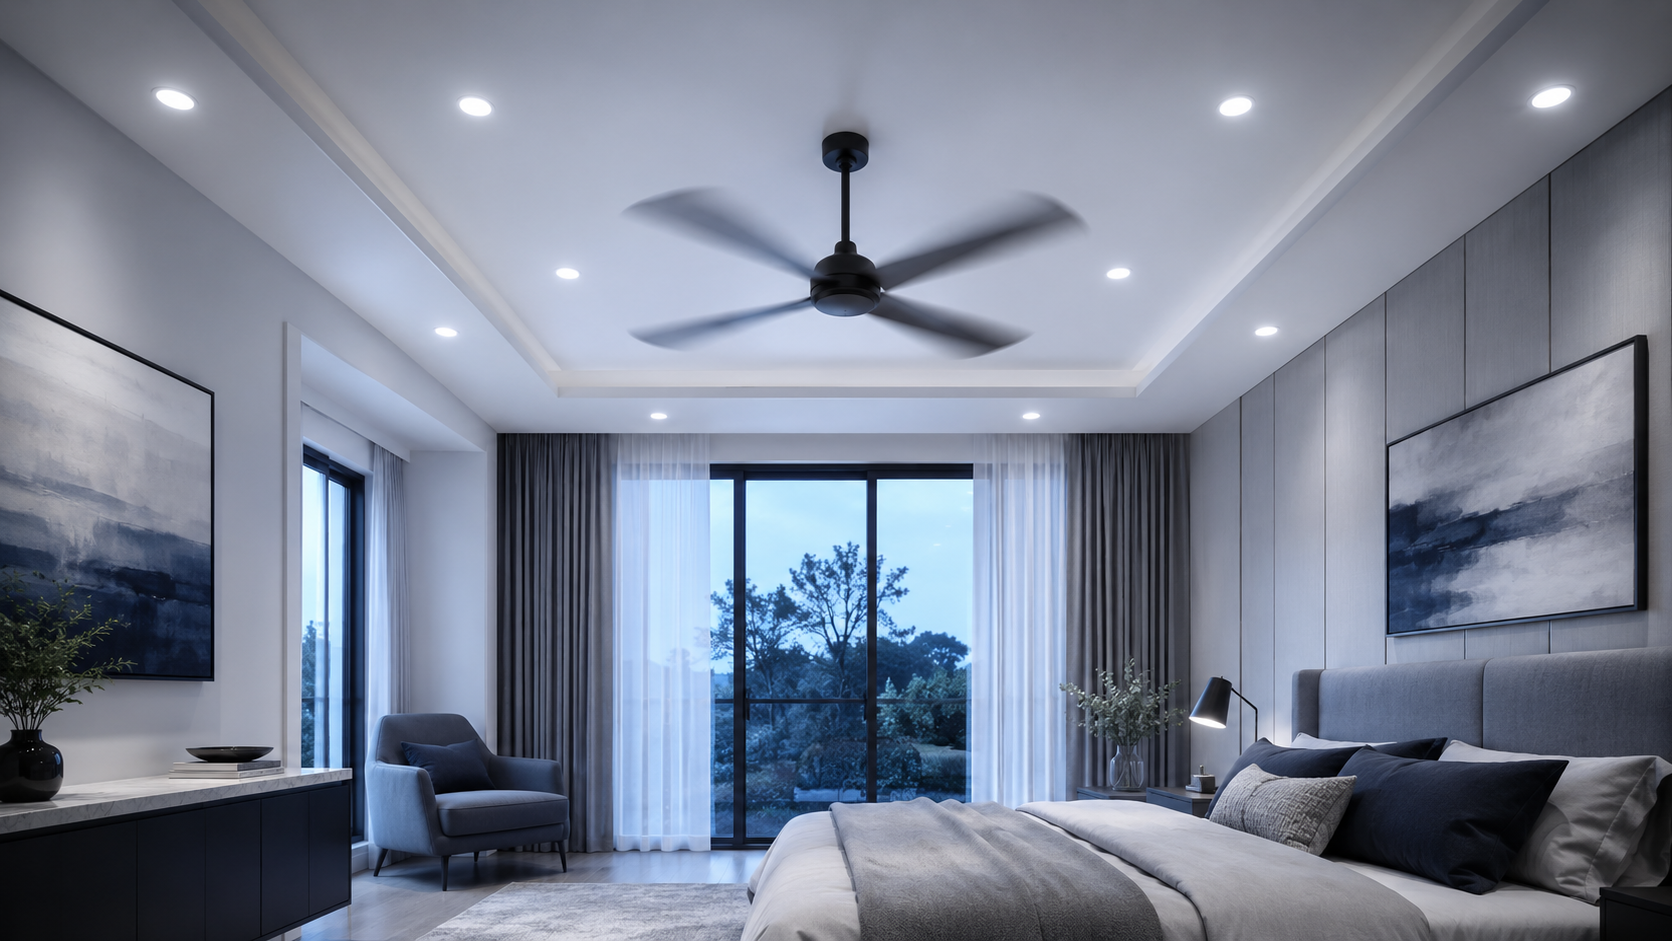
Ceiling fans and downlights can work well in the same room, but they need to be planned together.
A fan is not just a centre point on the ceiling. Once the blades are turning, it becomes a moving disc that can
interrupt light, cast moving shadows and make a neat downlight layout feel uneven.
This guide is for homeowners, electricians, builders and designers planning downlights with ceiling fan layouts
in bedrooms, living rooms and open-plan areas.
Why downlights near fan blades can cause problems
Downlights are directional. They send light down in a beam, rather than glowing evenly in all directions. When a
ceiling fan blade passes close to that beam, it can briefly block, reflect or break up the light. The result may
be flicker, strobing, moving shadows or patchy brightness on the bed, floor, sofa, bench or walls.
This is usually most noticeable when a downlight is close to the blade sweep. It can also be stronger with lower
ceilings, brighter fittings, narrower beam angles, pale surfaces or glossy finishes. A white bedspread, polished
table or television wall may reveal blade movement more clearly than darker, softer finishes.
That does not mean downlights around ceiling fan positions should be avoided. It means the fan, blade sweep and
downlight layout should be planned as one ceiling arrangement.
Start with fan diameter and blade sweep
The fan diameter is the overall width from blade tip to blade tip. A 1220 mm fan, for example, has a blade sweep
of roughly 1220 mm across. The blade tips reach about 610 mm from the fan centre. On a ceiling plan, that fan
should be treated as a circle, not just a motor housing.
Once the blade sweep is shown, add a planning buffer around it. This buffer is the extra distance between the
blade sweep and the nearest downlight position. It is not a universal rule or performance guarantee, but it helps
reduce the chance of downlights sitting where the fan is most likely to disturb the light.
A practical approach is to test several downlight fan clearance options. Compare a tighter buffer, a medium
buffer and a more generous buffer. Each option will affect the spacing, symmetry and task lighting differently.
Downlight Planner includes fan layout options and fan clearance or buffer settings, so you can
test fan diameter, fan position and downlight spacing together before settling on a ceiling plan. Using a
downlight layout planner early also helps avoid layouts that look tidy in isolation but clash with the fan once
furniture and room use are considered.
Balance clearance, symmetry and task zones
Good lighting is not only about avoiding the fan. The layout still needs to look intentional and support how the
room is used.
Start with the room centre lines, furniture and task zones. Mark the bed, sofa, dining table, kitchen bench,
robe doors, walkways or feature walls. Then place the fan where it makes sense for comfort and visual balance.
From there, place downlights where they add useful light without crowding the blade sweep.
A perfectly even grid can look tidy on paper but fail in practice if it puts fittings too close to the fan or
ignores the room's main tasks. A slightly adjusted layout may work better if it keeps light on the areas that
need it most. For the wider spacing logic, see the
Downlight Spacing Guide.
Planning factor
How to think about it
Fan diameter
Larger fans reduce the clear ceiling area available for downlights.
Blade sweep
Show the full circle on the plan before placing fittings.
Buffer distance
Keep downlights outside a planned clearance zone around the blade tips.
Room symmetry
Aim for a calm pattern, but do not force a grid through the fan zone.
Task zones
Prioritise beds, sofas, benches, tables, robes and walkways.
Beam angle
Narrower beams may create more defined light and shadow effects.
Finishes
Pale or glossy surfaces can make flicker and shadows more visible.
Bedroom example
In a bedroom, the fan is often centred over the bed or centred in the room. That makes the bed the most
important area to consider. If a downlight sits close to the fan blades, moving shadows may fall across the bed,
pillows or bedside surfaces.
A practical bedroom downlight layout keeps the main downlights outside the fan buffer. Instead of placing strong
beams near the centre of the bed, consider lighting robe fronts, circulation space and room corners. This can
make the room easier to use while keeping the bed area calmer.
Bedside lamps or wall lights can help because they provide reading and evening light without relying on ceiling
beams near the fan. They also give the room a softer layer, which is often more comfortable at night than using
downlights alone.
In Downlight Planner, test the fan at its real diameter, then compare a four-downlight arrangement around the
fan with a more perimeter-focused layout. The better option is usually the one that supports robes and movement
while avoiding distracting light over the bed.
Living room example
Living rooms often combine seating, media, display and circulation areas. A ceiling fan may sit over the main
seating zone, while downlights are expected to light the sofa, coffee table, shelves or television wall. If the
fittings are too close to the fan blades, the room can show moving shadows or uneven light exactly where people
are relaxing.
Start with furniture, not the ceiling grid. Mark the sofa, chairs, media wall, side tables and walkways. Then
use downlights to frame the living area instead of crowding the fan. In many rooms, downlights around the outer
part of the seating zone work better than fittings placed tight to the fan.
Floor lamps and table lamps are especially useful in living rooms. They create comfortable local light for
reading or evening use and reduce the need for extra ceiling fittings near the blade sweep. Wall lights can also
help with feature walls, shelving or soft background light.
A central decorative fitting may help in some rooms, especially where the design calls for a focal point. The
key is to think in layers rather than expecting downlights alone to provide every type of light.
Open-plan area example
Open-plan rooms need extra care because one ceiling may serve a kitchen, dining area, lounge and walkway. A fan
might belong to the living zone, while downlights are needed for kitchen benches or circulation nearby. A
repeated grid across the whole ceiling may look simple, but it can force downlights too close to the fan.
Divide the space into zones first. Kitchen benches may need more deliberate task lighting. Dining areas may suit
a pendant or central fitting. Living areas may work better with a mix of downlights, lamps and wall lights.
For an open-plan ceiling fan downlight layout, keep the fan buffer visible and allow the lighting rhythm to
change between zones. The kitchen row does not always need to line up perfectly with the lounge downlights. A
zoned layout can look more natural when it follows furniture and room use.
Downlight Planner is useful here because you can test the fan position, buffer distance and downlight rows
together. A small fan movement or spacing adjustment can sometimes improve both symmetry and practical light.
When lamps, wall lights or a central fitting may help
Other light sources are helpful when downlights would otherwise be pushed too close to the fan. Lamps work well
beside beds, sofas and reading chairs. Wall lights can support bedheads, hallways, feature walls and lounge
areas. A pendant or central fitting can define a dining table, entry or sitting area.
These layers are also useful in rooms with large fans, lower ceilings, dark finishes or awkward furniture. They
reduce reliance on ceiling downlights and give the room more flexible light for different times of day. For more
comfort planning, see
Dimmable Downlights for Comfortable Rooms.
Practical checklist
Add the ceiling fan before placing downlights.
Use the real fan diameter and show the blade sweep on the plan.
Set a planning buffer around the blade sweep.
Keep downlights outside the most disruptive fan zone.
Check beds, sofas, benches, tables, robes and walkways before finalising the pattern.
Balance symmetry with useful light; do not force a grid through the fan.
Consider beam angle, ceiling height, finishes, dimming and furniture.
Use lamps, wall lights or a central fitting where they solve the lighting task more comfortably.
Test multiple layouts in Downlight Planner.
Planning guidance only disclaimer
This page is for general planning guidance only. It does not replace product data, professional judgement or a
site-specific lighting assessment. Real-world results vary by fitting photometry, ceiling height, room finishes,
furniture, beam angle, dimming and installation conditions.
FAQ
Can you use downlights with a ceiling fan?
Yes. Downlights and ceiling fans can be planned in the same room, but the downlights should be positioned
with the fan diameter, blade sweep and buffer distance in mind.
Why do fan blades make downlights flicker?
Fan blades can pass close to a downlight beam and repeatedly interrupt, reflect or shadow the light. This
can appear as flicker, strobing, moving shadows or uneven brightness.
What is a good downlight fan clearance?
There is no single clearance that suits every room. Use a planning buffer around the blade sweep, then test
how the layout works with the room size, fan diameter, ceiling height, beam angle and task zones.
Should downlights be symmetrical around a fan?
Symmetry usually helps the ceiling feel calm, but it should not be the only goal. A layout that supports
the room's furniture and avoids the fan sweep is often better than a perfect grid.
When should I use lamps or wall lights instead?
Use lamps or wall lights when extra downlights would sit too close to the fan, or when you want softer
local light for reading, relaxing, bedside use or feature walls.
Can Downlight Planner test fan layouts?
Yes. Downlight Planner includes fan layout options and fan clearance or buffer settings, making it easier
to compare downlights around ceiling fan positions before choosing a layout.
Use the Downlight Planner
Test room dimensions, fitting lumens, beam angle and layout assumptions in the planner before refining the
setout.