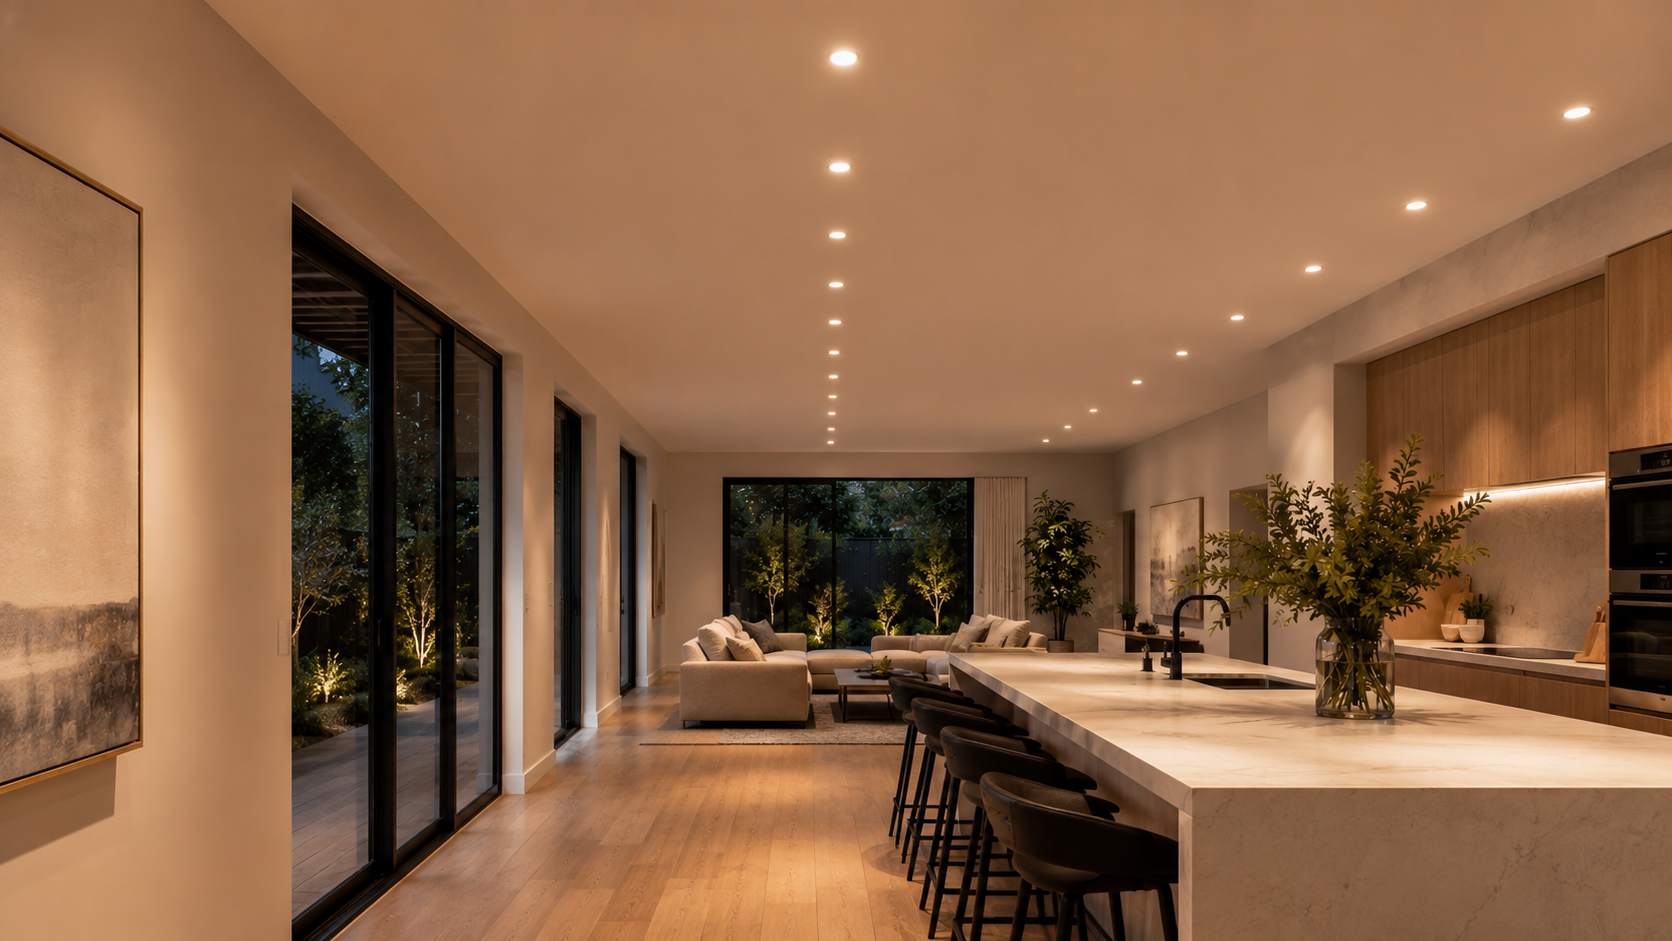
Downlight Spacing Guide: How Far Apart Should Downlights Be?
Downlight spacing is one of the biggest decisions in a lighting plan. Place downlights too far apart and a room
can feel patchy or dim. Place them too close together and the ceiling can look crowded, with more glare than
comfort.
The right layout depends on the room size, ceiling height, beam angle, fitting output, finishes, furniture and
how the space is used. This guide explains the main layout distances in plain English, including centre-to-centre
spacing, wall offsets and room-by-room examples.
You can also use Downlight Planner to test spacing visually before committing to a
layout.
Quick answer: how far apart should downlights be?
As a starting point, many rooms work with downlights spaced about 1.2 m to 1.8 m apart centre-to-centre. For
higher ceilings, wider beam angles or lower light output, that range may need to change.
Planning factor
Practical starting point
Centre-to-centre spacing
Around 1.2 m to 1.8 m
Distance from wall
Around 0.6 m to 0.9 m
Small rooms
Fewer fittings, tighter control
Large rooms
More fittings or layered lighting
Hallways
Often a simple line of evenly spaced downlights
Kitchens
Plan around benches, walkways and task areas
These are planning ranges, not guarantees. Real-world results vary by fitting photometry, ceiling height, room
finishes, furniture, beam angle, dimming and installation conditions.
What does centre-to-centre spacing mean?
Downlight spacing is usually measured from the centre of one downlight to the centre of the next. This is
called centre-to-centre spacing.
For example, if two downlights are 1.5 m apart, that means the centre point of one fitting is 1.5 m from the
centre point of the next fitting. This matters because the visible beam spread starts from the fitting location,
not from the edge of the trim.
A neat layout usually begins with a regular grid or line, then gets adjusted around practical room features.
Room feature
Why it matters
Furniture
Beds, sofas, tables and desks affect where light is useful
Benchtops
Kitchens need light where tasks happen
Walkways
Circulation areas often need even, comfortable coverage
Ceiling features
Bulkheads, fans, beams and skylights can affect symmetry
Room shape
Long, narrow or open-plan spaces need more careful spacing
The goal is not just to fill the ceiling. The goal is to place useful light where people need it.
Downlight distance from wall
Wall offset is the distance from a wall to the centre of the nearest downlight. As a starting point, many
layouts use a 0.6 m to 0.9 m offset from the wall.
Too close to the wall
Too far from the wall
Can create bright scallops or harsh wall patches
Can leave room edges feeling gloomy
May highlight wall imperfections
Can make the centre bright but corners dull
Can feel glary in small rooms
Can reduce the sense of usable space
For general room lighting, the first row of downlights is often set in from the wall by roughly half the spacing
between fittings. For example, if downlights are spaced 1.6 m apart, the wall offset might start around 0.8 m.
This is only a planning shortcut. Wall colour, ceiling height, beam angle and whether you want to light walls,
floors or furniture will all affect the final result.
Ceiling height and setout
Ceiling height has a big influence on spacing. The higher the ceiling, the more the beam spreads before it
reaches the floor or work surface. That can allow wider spacing in some cases, but it may also reduce intensity
where you need it.
For a typical Australian home with ceilings around 2.4 m to 2.7 m, spacing often lands somewhere in
the 1.2 m to 1.8 m range.
Ceiling height
Planning note
Around 2.4 m
Common residential height; glare control matters
Around 2.7 m
Slightly more spread; spacing still depends on fitting output
3.0 m and above
May need more detailed planning, especially for task lighting
Ceiling height should be considered together with beam angle and lumens. Looking at spacing alone can be
misleading.
Beam angle: why it changes the layout
Beam angle describes how wide the light spreads from the downlight. A narrow beam creates a more focused pool of
light. A wide beam spreads light across a larger area.
Beam type
Typical effect
Layout implication
Narrower beam
More focused, more contrast
May need closer spacing for even coverage
Medium beam
Balanced general lighting
Often useful for residential rooms
Wider beam
Broader spread
May allow wider spacing, depending on output and height
A wide beam does not automatically mean a better result. It can help with general coverage, but the fitting's
actual light distribution and output still matter. Read more in the
lumens, lux and beam angle guide.
Lumens, dimming and room use
Spacing is only one part of the lighting plan. The amount of light from each downlight, usually described in
lumens, also affects the result.
Two layouts can use the same spacing but feel very different if one uses low-output fittings and the other uses
brighter fittings. Dimming also matters. A room can benefit from having enough light for practical tasks, while
still being comfortable in the evening when dimmed.
Room
Lighting priority
Bedroom
Soft, comfortable general lighting
Living room
Flexible mood and circulation lighting
Kitchen
Clear light over benches and work areas
Hallway
Even, simple wayfinding light
Study
Good task lighting with glare control
Dining area
Atmosphere and table focus
For flexible spaces, downlights often work best as part of a layered plan with pendants, lamps, wall lights or
under-cabinet lighting where appropriate.
Why a visual calculator is better than one rule of thumb
A rule of thumb can get you started, but it cannot see your room. It does not know your ceiling height, room
dimensions, fitting output, beam angle, furniture layout or preferred mood.
A visual planning calculator helps because it lets
you test the layout visually. Instead of guessing whether four, six or eight fittings will look balanced, you
can compare options on a room plan.
This is especially helpful when a room is not a simple rectangle, or when you want to avoid placing lights
awkwardly over beds, sofas, ceiling fans or kitchen benches before choosing a layout.
Example 1: small bedroom layout
For a small bedroom, comfort is usually more important than maximum brightness. A common mistake is using too
many downlights and making the room feel like a showroom.
Example room: 3.0 m x 3.6 m
Layout idea
Planning comment
4 downlights in a simple grid
Often a clean starting point
Wall offset around 0.7 m to 0.9 m
Helps avoid dark corners
Spacing around 1.4 m to 1.8 m
Depends on fitting and furniture
Use dimming where planned
Helps shift from practical to relaxed lighting
Avoid placing downlights directly above pillows where they may feel uncomfortable when lying down.
Example 2: living room layout
Living rooms are rarely just one-purpose spaces. They may be used for watching TV, reading, entertaining and
relaxing. Even spacing can be useful, but a strict grid may not always suit the furniture.
Example room: 4.5 m x 5.5 m
Layout idea
Planning comment
6 to 8 downlights
Depends on brightness, beam and mood
Rows aligned to seating and circulation
Often better than a purely mathematical grid
Wall offset around 0.8 m to 1.0 m
Can help room edges feel balanced
Dimming strongly preferred
Gives flexibility for evenings
In a living room, downlights should not do all the work. Lamps, wall lighting or feature lighting can create
warmth and reduce the need for a ceiling full of fittings.
Example 3: kitchen layout
Kitchen lighting needs more care because tasks happen in specific places. A neat grid may look tidy on the
ceiling but still miss the benchtop.
Example room: 3.0 m x 4.0 m kitchen
Area
Planning approach
Benchtops
Place useful light over work zones
Walkways
Maintain even general coverage
Island bench
Consider dedicated lighting or carefully placed downlights
Cabinets
Avoid relying only on central ceiling lighting
For kitchens, start with the working surfaces, not just the room outline, so the plan follows where tasks
happen.
Example 4: hallway layout
Hallways are usually simpler. The aim is even, comfortable wayfinding light without making the ceiling feel
cluttered.
Example hallway: 1.1 m wide x 6.0 m long
Layout idea
Planning comment
Single centred row
Usually the cleanest option
3 or 4 downlights
Depends on output and desired brightness
Spacing around 1.5 m to 2.0 m
Often a practical starting range
Keep end offsets balanced
Helps avoid dark ends
For a long hallway, place the first and last downlights in from the ends rather than starting right at the wall.
Common layout mistakes
Using one spacing rule for every room. A 1.5 m spacing might work well in one room and poorly
in another.
Forgetting the wall offset. The distance from the wall affects corners, edges and wall
brightness.
Placing downlights around the ceiling instead of around the room. Plan for beds, sofas,
benches, dining tables and walkways.
Using too many downlights. More fittings do not always mean better lighting.
Ignoring beam angle and lumens. A low-output wide-beam downlight and a high-output
narrow-beam downlight will behave differently.
Not planning for dimming. Dimming gives the room flexibility across daytime, evening and
entertaining use.
Expecting exact results from a sketch. A plan is a strong starting point, not a laboratory
prediction.
Simple layout checklist
Before finalising a layout, check:
Question
Why it matters
What is the room used for?
Task, mood and general lighting need different approaches
What is the ceiling height?
Higher ceilings change beam spread and intensity
What is the beam angle?
Wider and narrower beams create different patterns
What are the lumens per fitting?
Output affects how many fittings may be needed
What is the wall offset?
Edges and corners affect the room's feel
Where is the furniture?
Light should support real use, not just ceiling symmetry
Will the lights be dimmed?
Flexibility improves comfort
For a faster visual check, use Downlight Planner to test different spacing options and compare layouts.
Planning guidance only disclaimer
This page is for general planning guidance only. It does not replace product data, professional judgement or a
site-specific lighting assessment. Real-world results vary by fitting photometry, ceiling height, room finishes,
furniture, beam angle, dimming and installation conditions.
FAQ
How far apart should downlights be?
A common starting point is 1.2 m to 1.8 m apart centre-to-centre for many residential rooms. The right
spacing depends on ceiling height, beam angle, lumens, room size and how the room is used.
What is a good starting wall offset?
Many plans start with a wall offset of about 0.6 m to 0.9 m. Another useful shortcut is to set the first row
about half the centre-to-centre spacing from the wall. Adjust this based on room shape, wall colour,
furniture and the effect you want.
How many downlights do I need in a bedroom?
A small bedroom may only need a simple four-downlight layout, depending on the fitting and desired
brightness. Larger bedrooms, wardrobes and study nooks may need a different plan. Comfort and glare control
are especially important in bedrooms.
Should kitchen downlights be evenly spaced?
Not always. Even spacing can look neat, but kitchen lighting should also consider benchtops, islands,
cabinets and walkways. A layout that ignores task areas may leave shadows where you need light most.
Does ceiling height affect the layout?
Yes. Ceiling height affects how the beam spreads and how bright the light feels at floor or bench level.
Higher ceilings usually need more careful planning around fitting output, beam angle and placement.
Is a visual calculator useful?
Yes. A visual planner helps you compare layouts instead of relying on a
single rule of thumb. Downlight Planner lets you test spacing visually and adjust wall offsets, rows and
room layouts.
Can I use the same spacing throughout the whole house?
You can use a consistent approach, but the exact spacing should usually change by room. Bedrooms, kitchens,
hallways and living rooms have different needs, so each space should be planned around its size, use and
furniture.
Use the Downlight Planner
Test room dimensions, fitting lumens, beam angle and layout assumptions in the planner before refining the
setout.